 Loom & Lapel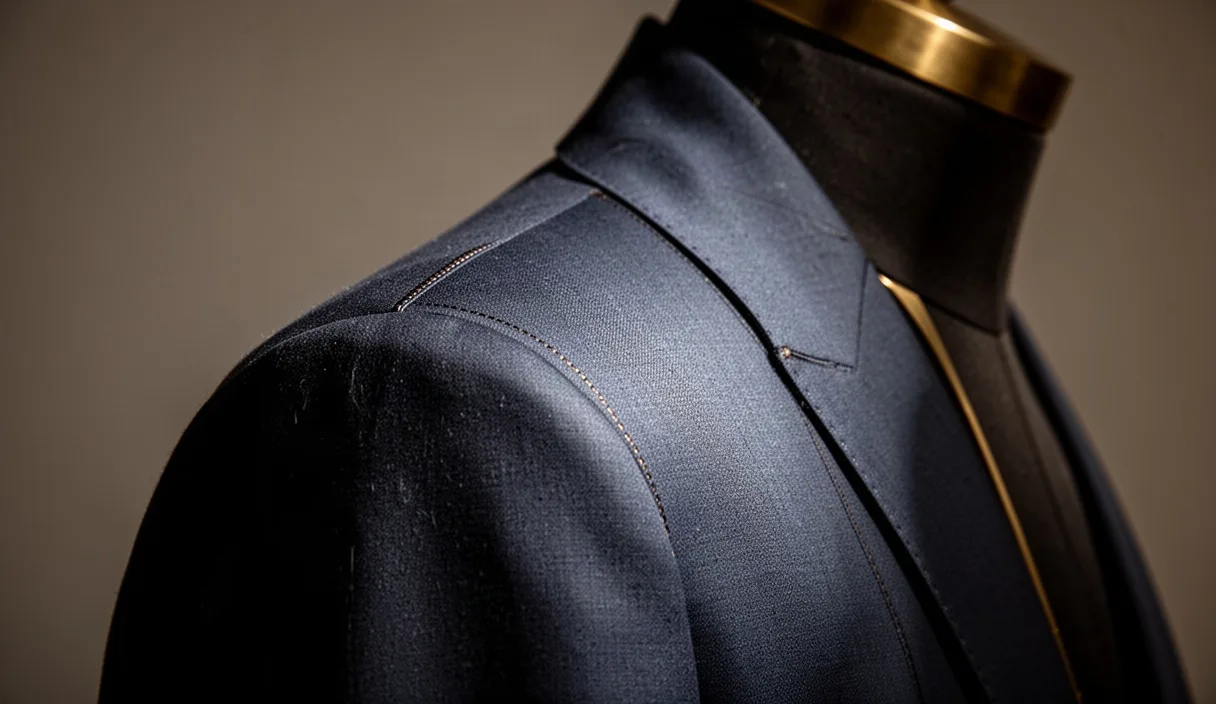

Walk into any tailoring shop and ask the person behind the counter what they check first on a jacket, and the answer is almost never the chest or the waist. It's the shoulder. A jacket that sits right at the shoulder can forgive a lot of other imperfections. One that doesn't will never look right, no matter how much work goes into the rest of the alterations.
The tag on a jacket tells you a number, sometimes a chest measurement, sometimes a generic size like 40R. That number says almost nothing about whether the garment will actually sit well on your frame. Two jackets labeled identically can fit two different bodies in completely different ways, and the shoulder is where that difference shows up first and most visibly. This article explains why, how to check it yourself, and what a tailor can realistically do about it.
Why shoulders are the foundation of jacket fit
A jacket hangs from the shoulders. That's not a stylistic observation, it's a structural fact. The shoulder seam and the padding beneath it form the load-bearing point for the entire garment. If that point is wrong, the fabric below it has to compensate, pulling, bunching, or gapping in ways that no amount of pressing or taking in the sides will fully correct.
Think of the shoulder as the frame of a house. You can repaint walls, swap out flooring, and change fixtures, but if the frame is off, the whole structure behaves oddly. The same logic applies to a jacket's chest, waist, and sleeves. They all take their cues from where the shoulder seam sits and how the shoulder pad, if there is one, transitions into the sleeve.
This is also why experienced tailors and salespeople will often tell a customer to walk away from a jacket that fits everywhere except the shoulder, even if the price is right. Chest and waist adjustments are common and usually straightforward. Shoulder adjustments are neither.
How to spot a shoulder seam that sits correctly
A correctly fitted shoulder seam sits exactly at the point where your natural shoulder ends and your arm begins. This is sometimes called the acromion point in tailoring references. You can find it on yourself by running a finger along the top of your shoulder until it drops off toward the arm.
When you put on a jacket, the seam should land right at that edge, not before it and not past it. From there, check these three things in sequence:
- The seam line should look flat, not bumpy. Run your hand across it. There should be no ridge of extra fabric and no visible divot where the padding stops short.
- The sleeve head should sit smoothly. The curve where the sleeve attaches to the body of the jacket should roll naturally, without a sharp pucker or a visible seam pulling inward.
- Movement should not disturb the line. Raise your arm partway, roughly 45 degrees, and then lower it. The shoulder seam should return to the same position without the jacket riding up at the collar or twisting at the chest.
If all three checks pass, the shoulder is very likely a good match for your frame, and most other adjustments on that jacket become realistic for a tailor to handle.
Signs the shoulder is too tight or too wide
A shoulder that's too narrow or too tight pulls across the back and causes visible stress lines, usually diagonal creases radiating from the seam toward the center back or toward the armpit. You'll also feel restriction when reaching forward, as though the jacket is resisting the motion rather than moving with it.
A shoulder that's too wide shows up differently. The seam will extend past the edge of your natural shoulder, sometimes by a noticeable half inch or more, and the fabric at the shoulder point will look slightly collapsed or soft rather than structured. The sleeve may also hang with a bit of extra fabric pooling near the shoulder cap, since the sleeve head has nothing firm to roll over.
Here's a quick comparison of what each problem typically looks like in practice:
| Symptom | Too tight / narrow | Too wide / loose |
|---|---|---|
| Seam position | Sits inside the natural shoulder edge | Extends past the natural shoulder edge |
| Fabric behavior | Diagonal pulling, visible stress lines | Soft collapse, sleeve cap looks deflated |
| Movement test | Restricted, jacket resists arm motion | Jacket shifts or rotates slightly on the body |
| Collar effect | Rides up at the back of the neck | Gaps away from the neck |
Either extreme is a signal to try a different size or a different cut before worrying about any other measurement. A chest that's a little loose can be taken in. A shoulder that's structurally wrong usually cannot be fixed without unraveling the garment's construction.
What tailors can and cannot adjust
Tailors can comfortably handle a range of adjustments once the shoulder fits. Chest suppression, waist tapering, sleeve length, trouser length and waist, these are routine. A skilled tailor can also perform a limited shoulder adjustment in specific cases, usually reducing width by a small amount, often no more than a quarter inch to half inch per side, by re-setting the sleeve and trimming the shoulder seam. This kind of adjustment is time-consuming and not every tailor offers it, since it involves taking the sleeve off, reshaping the shoulder line, and reattaching the sleeve with new ease built in.
What's much harder, and in many cases not realistic at all, is adding width to a shoulder that's too narrow, or correcting a jacket where the shoulder seam sits in the wrong position entirely, for example too far forward or too far back on the body. That kind of correction would require rebuilding the shoulder structure from the inside, including the padding and canvas, and the cost often exceeds the price of simply buying a jacket that fits from the start.
As a rough guideline:
- Minor width reduction: often possible, moderate cost, noticeable turnaround time.
- Shoulder slope adjustment (raising or lowering the pitch): possible in some cases but technically demanding, best discussed in person with a tailor who can assess the specific jacket.
- Shoulder widening: generally not practical.
- Correcting seam position (forward or back): rarely practical, often not worth attempting.
If you're unsure whether a specific jacket can be adjusted, the only reliable answer comes from a tailor examining the garment in person. Descriptions and photos only go so far, since the internal construction, the amount of seam allowance left by the manufacturer, and the type of padding used all affect what's actually possible.
Testing shoulder fit while shopping
The best time to catch a shoulder problem is in the fitting room, before any money changes hands. A few minutes of deliberate checking will tell you more than reading the size tag ever will.
- Put the jacket on and let your arms hang naturally. Don't adjust the jacket yet. Look at where the seam falls relative to your shoulder edge.
- Run your fingertips along the seam. Feel for lumps, gaps, or a ridge where the shoulder pad ends abruptly instead of tapering.
- Raise both arms to shoulder height, then lower them. Watch the jacket in a mirror. The shoulder line should hold its shape rather than shifting or creasing sharply.
- Cross your arms in front of you. This mimics a common real-world posture. A good shoulder fit won't bind or pull across the upper back during this motion.
- Turn to check the back view. Shoulder problems often show up more clearly from behind than from the front, particularly diagonal creasing near the shoulder blades.
If you're trying on jackets from a brand you haven't worn before, it's worth doing this check even if the size matches what you've worn elsewhere. Shoulder construction varies significantly between manufacturers, even within the same labeled size, because the padding, canvas, and cutting blocks differ from one maker to the next.
How shoulder fit interacts with sleeve length
Sleeve length is usually the easiest adjustment on a jacket, but it only works correctly if the shoulder is already right. The sleeve attaches at the shoulder seam, so if that seam sits in the wrong place, the sleeve will hang at the wrong angle no matter how it's hemmed.
A general guideline many tailors use is that the jacket sleeve should end around the wrist bone, leaving roughly a quarter to half inch of shirt cuff visible. But this measurement only makes sense once the shoulder seam is confirmed correct, since a shoulder sitting too far forward or too far back changes how the sleeve drapes down the arm, which in turn changes where the hem naturally wants to fall.
This is also why trying to fix a sleeve length problem without addressing an underlying shoulder issue often leads to a jacket that still looks slightly off, even after the hem has been altered. The sleeve might technically end at the correct spot on the wrist, but the angle it hangs at will look unnatural if the shoulder is twisting the whole arm assembly.
Common mistakes
Shoppers often focus on chest circumference because it's the number printed on the tag, while ignoring the shoulder because it isn't labeled at all. Another frequent mistake is assuming a tailor can fix any shoulder problem, when in practice only minor width reductions are realistic for most jackets. People also tend to judge fit while standing still in front of a mirror, skipping the arm-raise and cross-arm tests that reveal most shoulder problems. Finally, many buyers get a sleeve hemmed first, before confirming the shoulder is correct, which sometimes means paying for an alteration that has to be redone or lived with as a compromise.
Next steps
Before buying any jacket, spend the extra few minutes checking the shoulder using the movements described above, rather than relying on the size tag or how the garment looks hanging on a rack. If you already own jackets that seem off but you can't pinpoint why, bring one to a tailor and specifically ask them to assess the shoulder seam position and padding, not just the chest and waist. For anything beyond a minor width adjustment, get a direct, in-person opinion from a tailor before assuming the garment can be saved, since what's realistic depends heavily on how that specific jacket was constructed.